1. Core Infrastructure Provisioning
📅 Published: 2026-05-04 13:14 | 🔄 Last Updated: 2026-05-30 10:53
1. Local Area Network (LAN) and Virtual Machine Provisioning
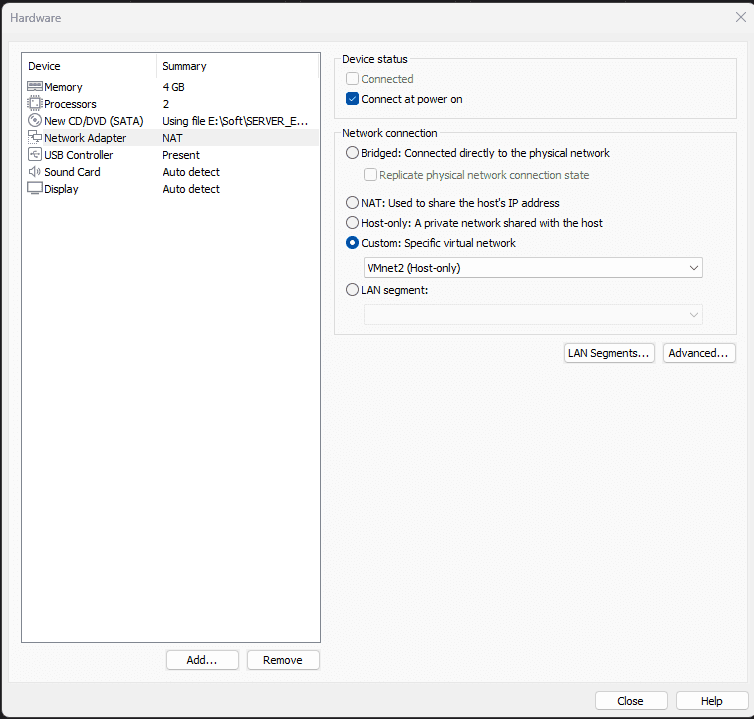
1.1. Configuring VMnet2 (LAN) and VMnet3 (SIEM) in the VMware Virtual Network Editor
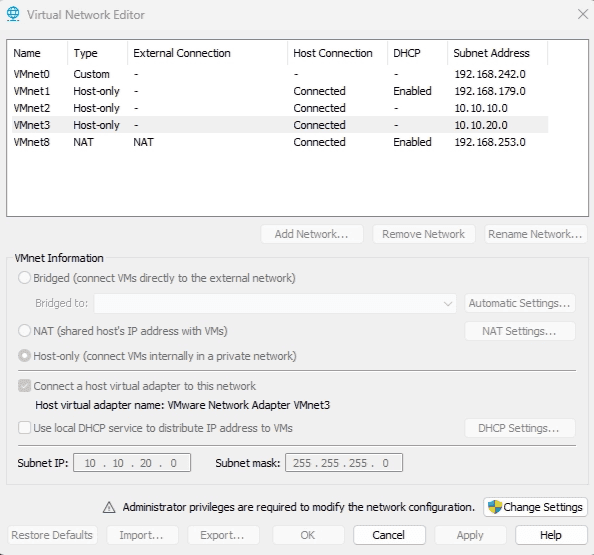
We need to create two distinct network segments for the LAN and the SIEM. In this setup, VMnet2 and VMnet3 will function as virtual switches.
- Navigate to the top menu bar and select Edit → Virtual Network Editor...
- Click the Add Network... button → Select VMnet2 → Click OK.
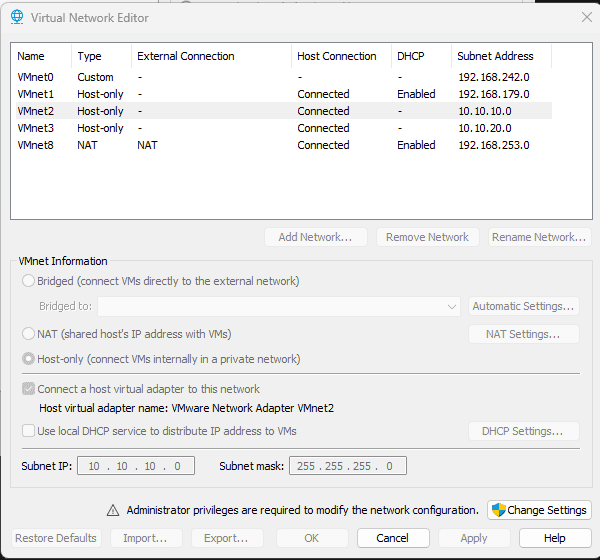
Repeat the exact same process to create VMnet3.
1.2. Deploying pfSense
- Navigate to
https://repo.ialab.dsu.edu/pfsense/to download pfSense 2.7.1. (Note: Versions 2.8 and above require the use of the newer Netgate installer). - Extract the downloaded file and configure it as a new virtual machine within VMware.
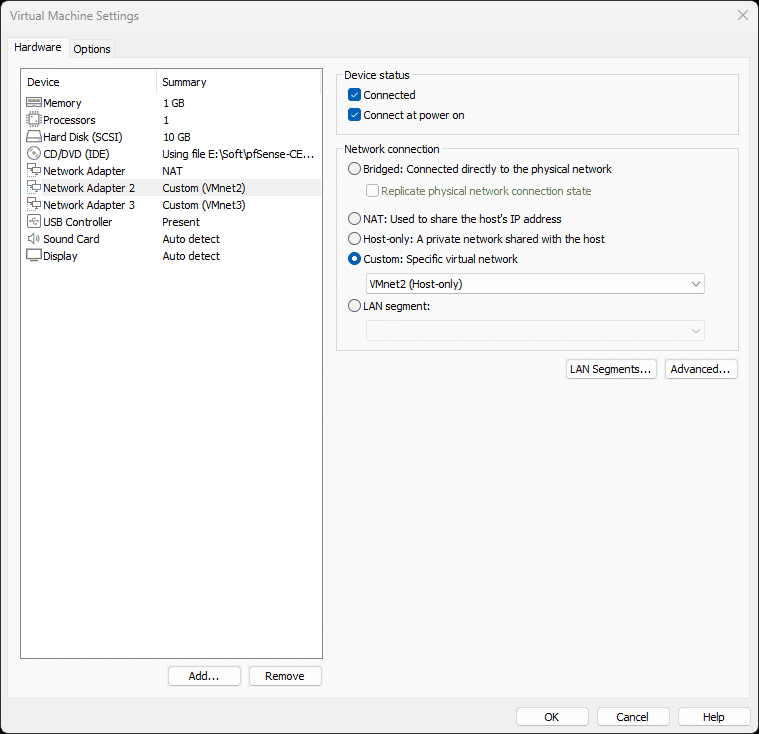
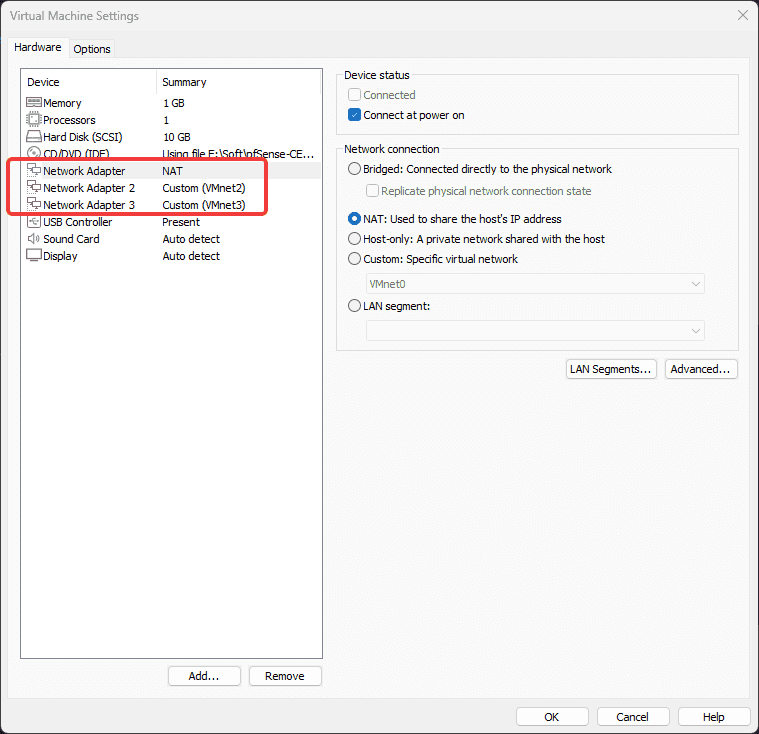
Crucial Step: Ensure the VM is configured with three network adapters:
- Adapter 1 (WAN): Bridged or NAT to connect to the external Internet.
- Adapter 2 (LAN): Assigned to the custom VMnet2 created earlier.
- Adapter 3 (SIEM): Assigned to the custom VMnet3 created earlier.


During the installation, select the MBR partition scheme to ensure compatibility with BIOS firmware.


1.3. Interface Configuration
Upon completing the installation and rebooting, you will be presented with the pfSense console menu featuring 16 options:

- Press 1 (Assign Interfaces) and hit Enter.
- When prompted with "Should VLANs be set up now?" type n and hit Enter.
- Enter the WAN interface name... type em0 and hit Enter.
- Enter the LAN interface name... type em1 and hit Enter.
- Enter the Optional 1 interface name... type em2 and hit Enter. (This interface serves as SIEM Zone).
- Do you want to proceed? type y and hit Enter.
Assigning IP Addresses for LAN and SIEM
Configuring the LAN Interface:
- Press 2 (Set interface(s) IP address) and hit Enter.
- Select option 2 (LAN) and hit Enter.
- Configure IPv4 address LAN interface via DHCP? Type n.
- Enter the new LAN IPv4 address: Type 10.10.10.1 (This assigns the IP to the
em1interface). - Subnet bit count: Type 24 and hit Enter.
- (Press Enter to skip Gateway and IPv6 configurations).
- Do you want to enable the DHCP server on LAN? Type y and hit Enter. (This allows pfSense to lease IP addresses to Windows machines).
- Start address: Type 10.10.10.100 and hit Enter.
- End address: Type 10.10.10.200 and hit Enter. (IP allocation to avoid ip conflict with static ip range)
- Do you want to revert to HTTP... Type n and hit Enter.
Host Machine Configuration Adjustment:
Return to physical host machine and run the ipconfig command.
- We must manually modify the IP address of the host machine's VMware network adapter to 10.10.10.2 to prevent IP conflicts, ensuring 10.10.10.1 is exclusively reserved for the pfSense gateway.
Ethernet adapter VMware Network Adapter VMnet2:

   Connection-specific DNS Suffix  . :
   Link-local IPv6 Address . . . . . : fe80::955f:54b5:d17a:9bfe%52
   IPv4 Address. . . . . . . . . . . : 10.10.10.1
   Subnet Mask . . . . . . . . . . . : 255.255.255.0
   Default Gateway . . . . . . . . . :
Test the connection by logging into the pfSense WebGUI at 10.10.10.1.

Login to 10.10.10.1

Same method applied with SIEM

Testing Connectivity:
From the host machine, you can successfully ping 10.10.10.1. However, pinging 10.10.20.1 will fail by default due to pfSense's restrictive baseline firewall rules.
PS E:\Soft> ping 10.10.10.1

Pinging 10.10.10.1 with 32 bytes of data:
Reply from 10.10.10.1: bytes=32 time<1ms TTL=64
Reply from 10.10.10.1: bytes=32 time<1ms TTL=64
Reply from 10.10.10.1: bytes=32 time<1ms TTL=64
Reply from 10.10.10.1: bytes=32 time<1ms TTL=64

Ping statistics for 10.10.10.1:
    Packets: Sent = 4, Received = 4, Lost = 0 (0% loss),
Approximate round trip times in milli-seconds:
    Minimum = 0ms, Maximum = 0ms, Average = 0ms
PS E:\Soft> ping 10.10.20.1

Pinging 10.10.20.1 with 32 bytes of data:
Request timed out.
The resutl - all firewall interfaces are configured as below:
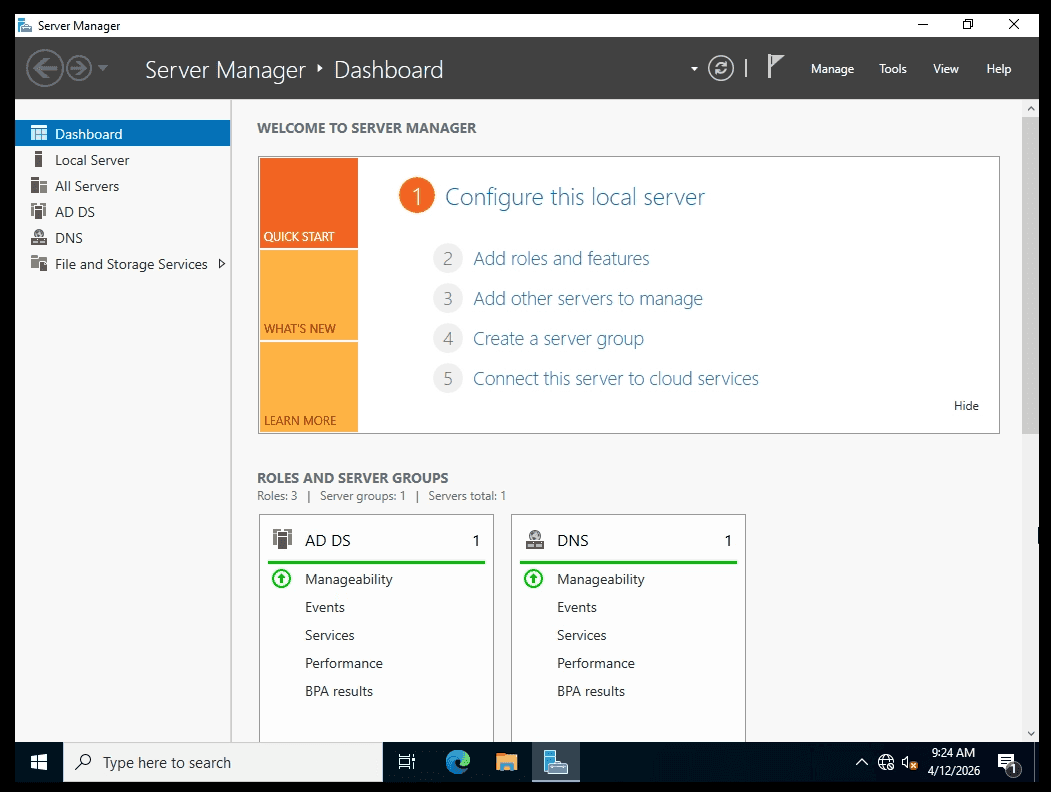
2. Provisioning Windows Server 2022 (DC01) and IT Workstation (WS01)
2.1. Domain Controller - DC01 (10.10.10.10)
- Windows Server 2022: An enterprise-grade operating system designed to host enterprise services and manage multiple concurrent users.
- Active Directory (AD): A centralized database containing network objects such as employees (Users), devices (Computers), and departments (Organizational Units - OUs). It also houses Group Policy Objects (GPOs), which dictate corporate security policies.
- Domain Controller (DC01): The primary server actively hosting the Active Directory database.
- Assign a static IP address to the server: 10.10.10.10/24, with a default gateway of 10.10.10.1 (the pfSense firewall).
- Critical Note: The DNS server for the DC must be configured to point to itself using the loopback address: 127.0.0.1.
Promoting the Server to a Domain Controller
Creating an Organizational Unit (OU) via ADUC: We will create an OU to manage our IT Workstation (WS01) later.
-
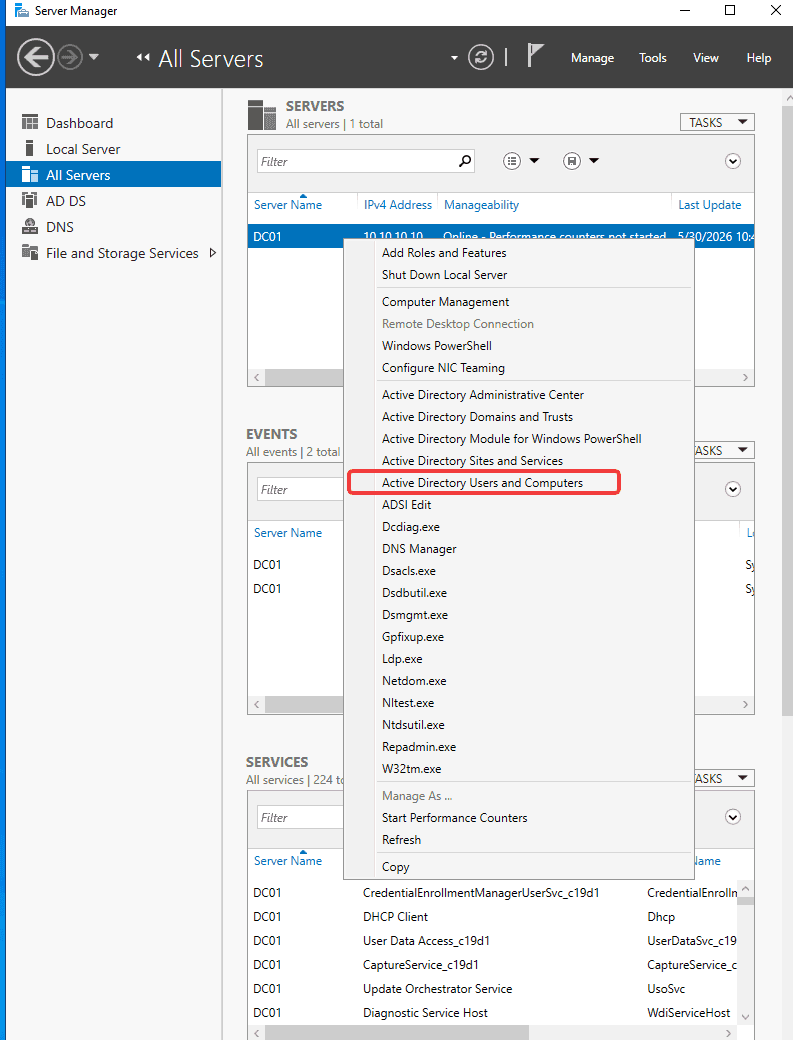
Open Server Manager, navigate to Tools, and select Active Directory Users and Computers (ADUC).
-
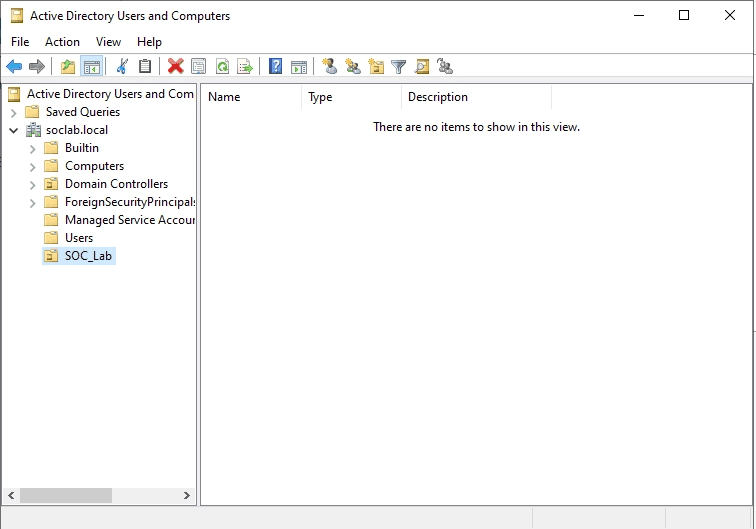
Expand the domain tree (
soclab.local). -
Right-click, select New, and create a new Organizational Unit (OU) named
SOC_Lab.
2.2. IT Workstation - WS01 (10.10.10.15)
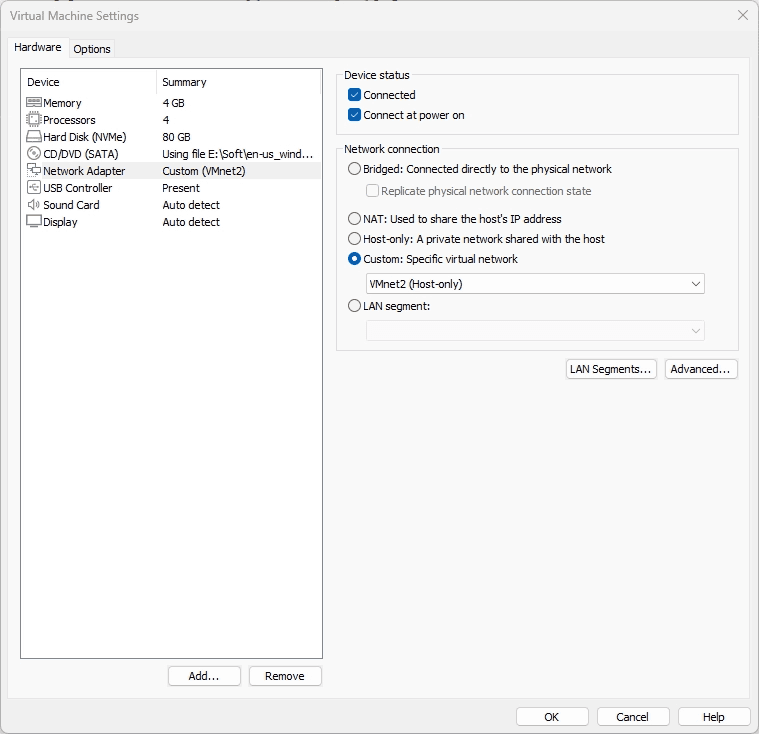
- Configure the VM's network adapter to connect to VMnet2 (LAN).
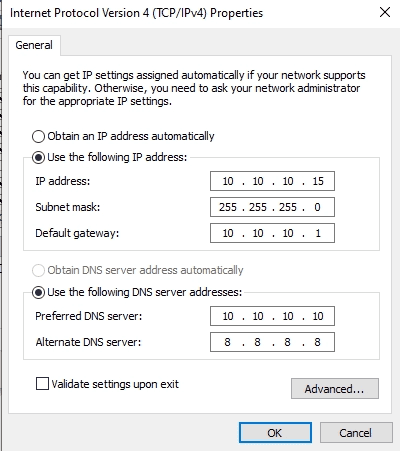
- Assign the static IP 10.10.10.15 and ensure its DNS server points directly to the Domain Controller (10.10.10.10).
Verifying Connectivity:
Test communication with the Domain Controller:
PS C:\Users\cuong_nguyen> ping 10.10.10.10
Pinging 10.10.10.10 with 32 bytes of data:
Reply from 10.10.10.10: bytes=32 time<1ms TTL=128
Reply from 10.10.10.10: bytes=32 time<1ms TTL=128
Reply from 10.10.10.10: bytes=32 time<1ms TTL=128
Perform an nslookup against the domain:
PS C:\Users\cuong_nguyen> nslookup soclab.local
Server:  UnKnown
Address:  10.10.10.10

Name:    soclab.local
Address:  10.10.10.10
Note: Currently, the reverse lookup zone is unconfigured, which is why the server name resolves as "Unknown". We will fix this by configuring the DNS reverse lookup zone on DC01.
Joining the Domain:
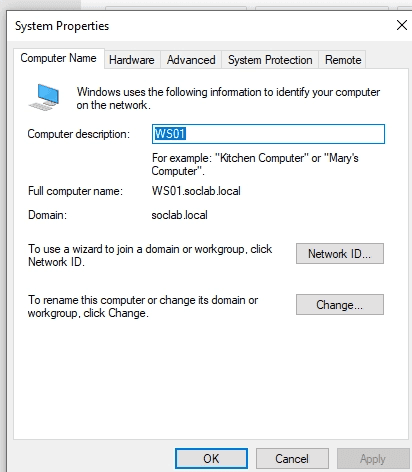
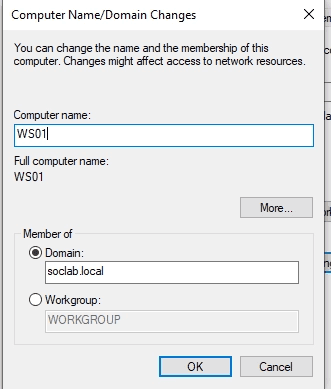
Rename the workstation and join it to the soclab.local domain via System Properties.
Configuring the Reverse Lookup Zone on DC01 (DNS Resolution):
- On DC01, open Server Manager → Tools → DNS.
- Right-click Reverse Lookup Zones and select New Zone.
- Select IPv4 Reverse Lookup Zone and click Next.
- In the Network ID field, enter subnet: 10.10.10. Click Next.
- Leave the default setting to Allow only secure dynamic updates, then click Finish.
Updating the Pointer (PTR) Record:
- Navigate to Forward Lookup Zones →
soclab.local. - Locate the A record for DC01 (IP 10.10.10.10).
- Double-click the record and ensure the "Update associated pointer (PTR) record" box is checked.
Verify the resolution again on WS01:
PS C:\Users\cuong_nguyen> nslookup soclab.local
Server:  dc01.soclab.local
Address:  10.10.10.10

Name:    soclab.local
Address:  10.10.10.10
Finalizing AD Organization
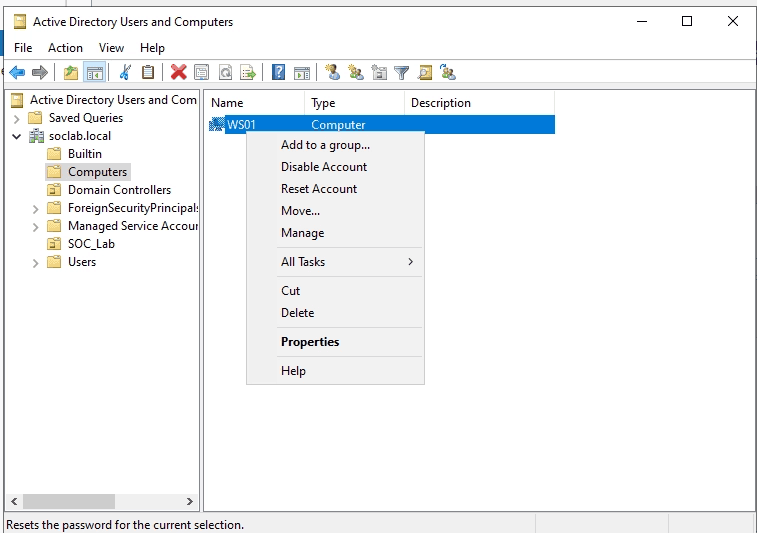
Return to Active Directory Users and Computers (ADUC) on the Domain Controller.
Move the newly joined WS01 computer object from the default Computers container into the dedicated**SOC_Lab**Organizational Unit.